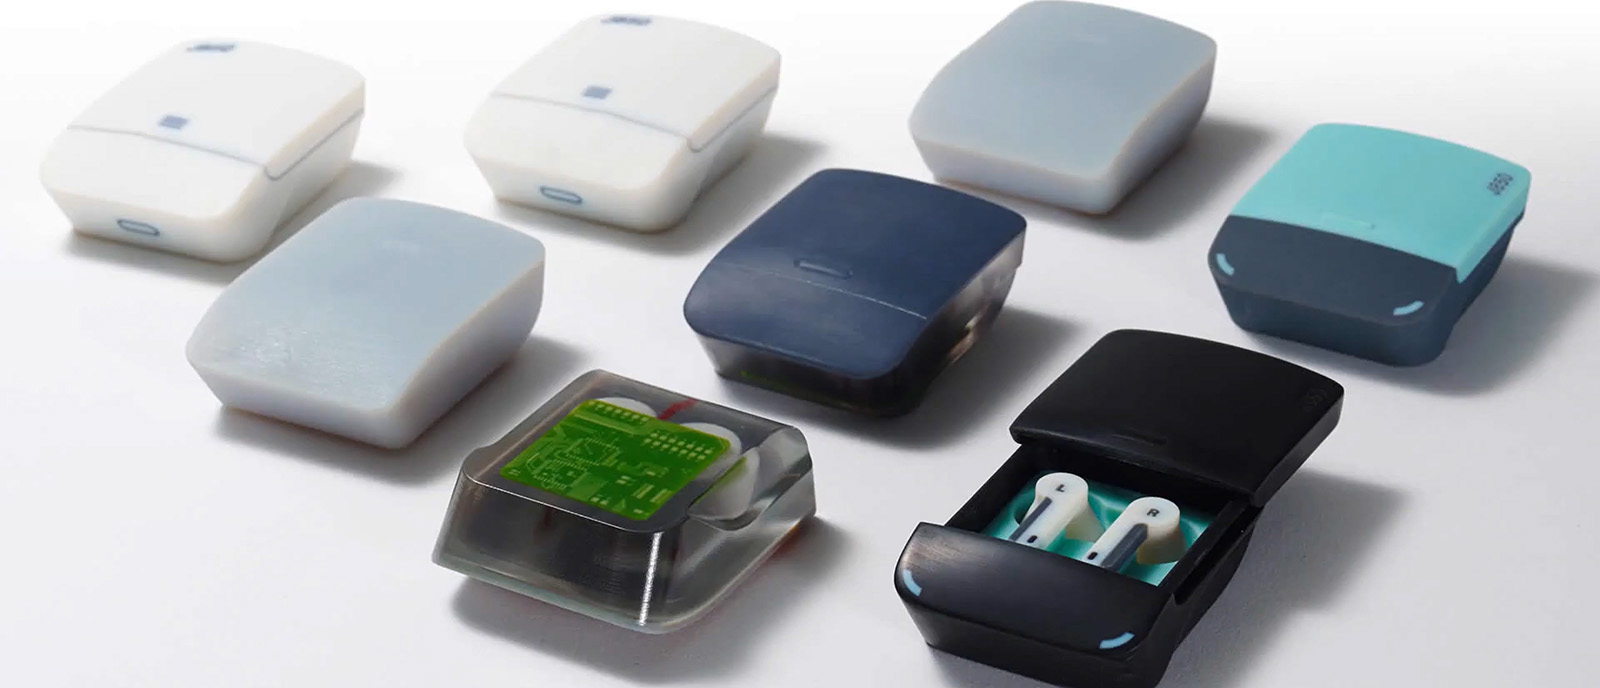
KeyShot and 3D Printing - From Rendering to Printed Part
Most people know KeyShot as software for photorealistic renderings. Fewer know that KeyShot Studio Pro also produces print-ready files. This goes beyond appearance: surface structures created in KeyShot are exported as real geometry and can be physically printed. That makes KeyShot the tool between CAD and 3D printer. You design surfaces on screen, judge them in the rendering and print exactly that version.
Real Surface Structures with Displacement - the Underrated Lever
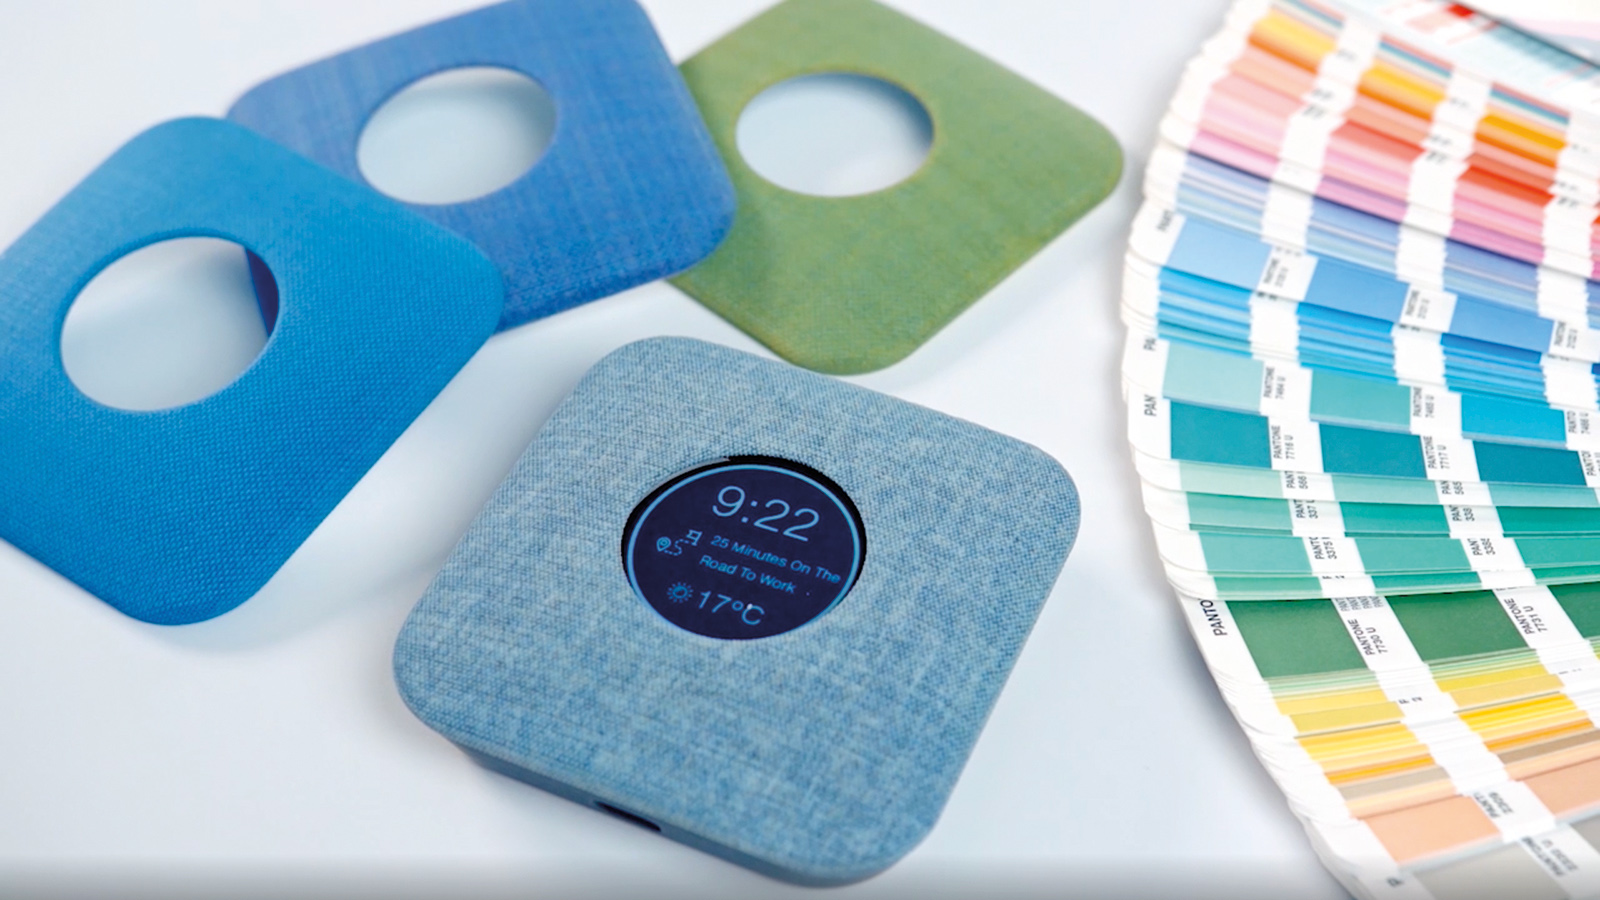
Knurling, grip ribs, leather grain, textures, perforation patterns or a repeated logo: modeling such structures in CAD takes a lot of time and bloats the design data. On freeform surfaces it is often not practical at all. In KeyShot, a grayscale image is enough.
In the Material Graph, a Displace node is connected to the material's Geometry input and linked to a texture. Light areas raise the surface, black areas stay on the original surface. Negative values cut the structure into the part. KeyShot calculates a new, finely resolved mesh from this - real 3D geometry, not an optical effect like a bump or normal map.
The key settings:
- Displacement Height sets the structure depth in scene units, for example 0.4 mm.
- Offset shifts the zero line, so the structure can sit on top, be half recessed or be cut in.
- Triangle Size and Max Triangles control the detail of the structure and limit the polygon count per part.
- Mapping, scale and rotation of the texture define where the pattern sits and how large it is. Several maps can be combined or switched from raised to recessed with Invert.
The decisive advantage: displacement is non-destructive. The CAD model remains unchanged, and removing the material returns the part to its original shape. You can test five structure variants in a short time, compare them in a photorealistic rendering and print only the one that convinces.
Step by Step: From Texture to Print-Ready File
- Prepare and import the part: In CAD, give the faces that should receive a structure their own material or color, so they arrive in KeyShot as a separate part. KeyShot reads native CAD formats such as SOLIDWORKS, Creo, NX, Rhino or STEP directly. Choose a fine tessellation on import so curves stay smooth in print.
- Set up displacement: Open the Material Graph, connect a Displace node to the Geometry input and attach a grayscale texture, for example ribs, grain or a logo.
- Place the texture: Choose the mapping type (for example planar or box) and adjust scale and orientation. Press C to display the texture directly on the model for checking.
- Define depth and resolution: Set Displacement Height, Offset and Triangle Size. The structure should be coarse enough for the printer to reproduce cleanly.
- Calculate and check the geometry: "Execute Geometry Node" or Alt+G generates the structure. Then judge the result in the real-time rendering with the lighting and material it will have later.
- Export and print: Save as STL, OBJ or 3MF via File > Export. The file is checked in the slicer or print software, repaired if necessary, and printed.
Practical Example: Grip Texture for a Charging Plug
A test by GoEngineer, a Stratasys and SOLIDWORKS partner, shows how well this works in practice. A SOLIDWORKS part - the handle of a charging plug - was opened directly in KeyShot without conversion. Using displacement, it received a rubber-like rib texture 0.4 mm high plus a small repeated logo pattern. After exporting as 3MF, the part was printed in ABS on a Stratasys FDM printer (F370). According to the test, the rib texture came out excellent, while the very small logos were scaled too fine to print cleanly. The lesson: structure size must match the resolution of the printing process - and that is exactly what KeyShot lets you set in advance.
.jpg)
Export for Every Printing Process
- STL and OBJ - the standard for FDM and SLA/resin printers and every common slicer.
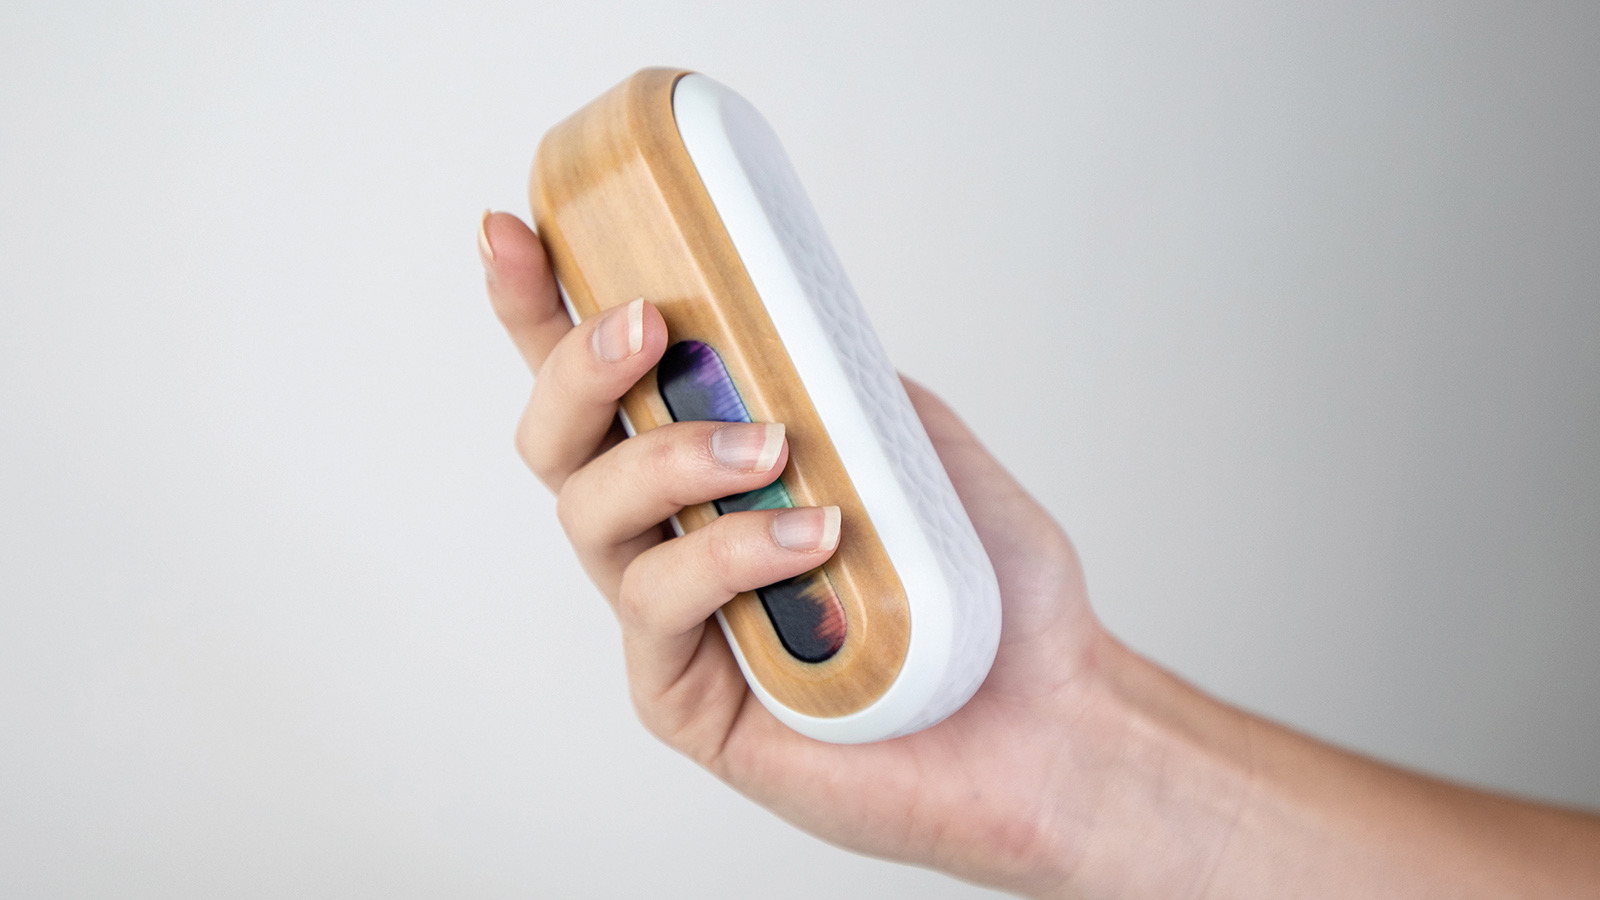
- 3MF - for full-color and multi-material printers such as Stratasys PolyJet. With Smart Export, KeyShot transfers geometry, colors, textures and labels into the print file, so you can print prototypes that already look like the final product.
Practical Tips for Clean Prints
- Tessellation: A model can look smooth in KeyShot and still show facets when printed, so use a fine enough resolution on import.
- Edges and transitions: The displaced mesh can tear at hard edges. Check the mesh before printing and repair it in the print software if needed.
- Clearances: The gap to neighboring parts must be larger than the structure height, otherwise the parts intersect.
- Structure size: Do not make details finer than printer and material can reproduce.
- 3MF settings: Use 400 to 600 DPI for colors and textures. Each part can carry either geometry nodes or textures; choose your preference on export.
- Material choice: For color printing, Plastic, Glass, Gem or Liquid materials work better than Translucent or Scattering Medium materials. Separate Model Sets keep the print version apart from the rendering version.
Further Benefits of KeyShot in the 3D Printing Process
Fewer test prints: Colors, materials and structures are compared and approved in the rendering before print time and material are spent. You only print what has already been decided.
One data set for everything: The same CAD data serves as rendering and print model - no second modeling, no conversion losses.
Images before the first part: Product images, animations, 360-degree views and AR data are created in parallel with the prototype. Marketing and sales do not have to wait for the physical part.
Faster approval: Clients and colleagues decide based on photorealistic images - clearer than gray CAD views and cheaper than a series of test prints.
Typical Applications
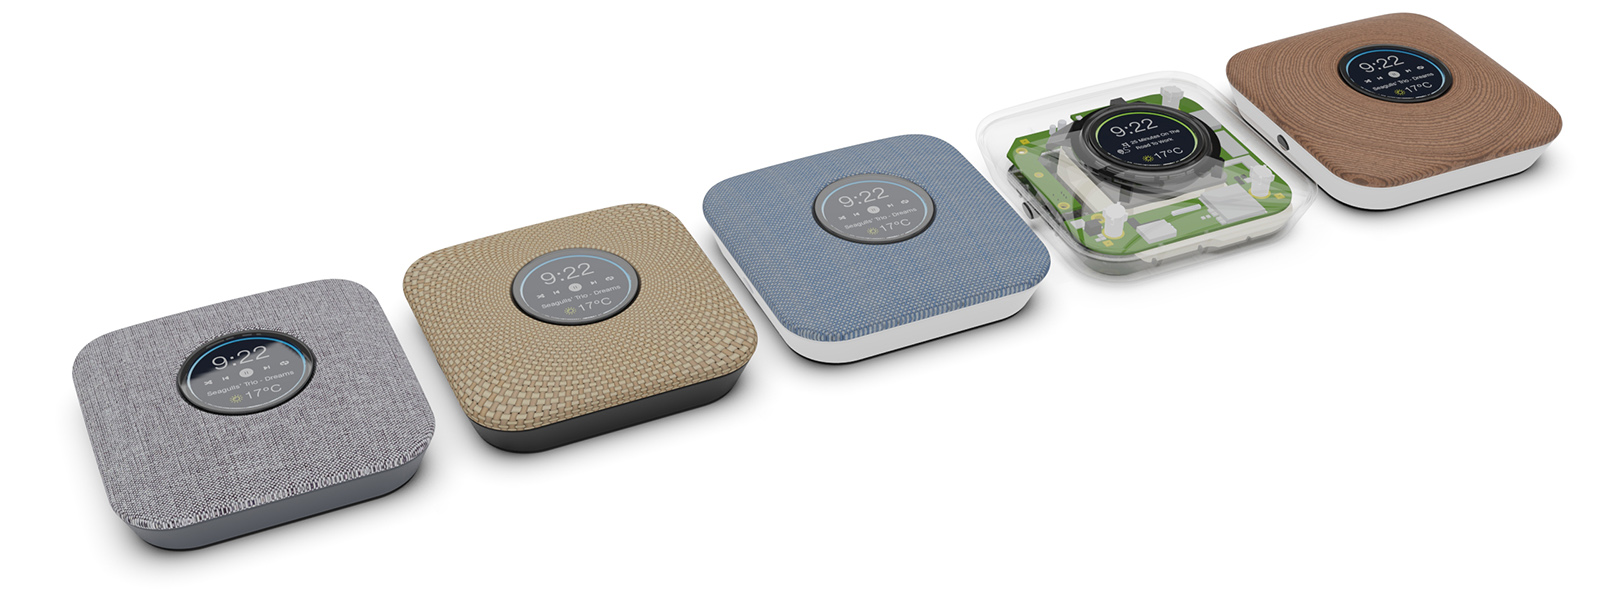
Functional prototypes with grip and haptic structures, design and variant models for client presentations, small series and spare parts with surfaces to design specification, jewelry and decorative objects, architectural and trade show models with facade and material structures, and illustrative models for medicine and education.
KeyShot and 3D Printing with DOSCH DESIGN
As an official KeyShot partner and authorized KeyShot Training Center, DOSCH DESIGN supports you all the way from CAD model to printed part:
- KeyShot Studio - with Material Graph, displacement and 3D print export.
- KeyShot Online Training - individual training, including displacement and export for 3D printing.
- 3D Services - we handle the implementation for you: from custom displacement structures to data checking, mesh repair and the print-ready file.
DOSCH DESIGN is an official KeyShot partner, Certified KeyShot Master, Certified KeyShot Studio Professional, Certified KeyShot Studio Materials Specialist and authorized KeyShot Training Center.